Linux Docker - "Native" Jellyfin Push 2FA MFA with LLDAP, Duo and DuoAuthProxy


I wanted multifactor authentication on Jellyfin especially for my administrators which is unfortunately a missing feature natively.
Unfortunately configuring Authelia Forward Authentication or an SSO solution with OpenID Connect (OIDC) or Security Assertion Markup Language (SAML) would break native apps on non-PC devices due to drastically changing the authentication flow.
I wanted a solution that taps on Jellyfin's native authentication flow and only introduces a "pause" after clicking the log in button, which can be handled by any client, while waiting for the Duo push to be approved.
While this solution does not save a lot more space, I was inspired by Jellyfin, Authentik, DUO. 2FA solution but wanted a smaller, non Authentik, alternative.
Also, Docker Hub images for DuoAuthProxy were all outdated, so this was also an opportunity to bring it into my list of automatically updating images powered by Gitlab CI/CD.
Just looking for the Alpine-based DuoAuthProxy docker image built by me? Click here!
Note: Since we will be accessing everything locally in this guide, even all within the docker network, I will not be going through setting up LDAP transit encryption (i.e. Secure LDAPS and StartTLS) as it would be out of scope.
More Demos
Android app login video
Your browser does not support the video element.
Prerequisites
Steps
Starting LLDAP
Replace the following accordingly
- dc=example,dc=com (people normally follow their domain (i.e. example.com for this))
- REPLACE_ME_WITH_YOUR_OWN_JWT_SECRET (this can be any long string really, string length is debatable and out of scope)
- REPLACE_ME_WITH_YOUR_OWN_KEY_SEED (this can be any long string really, string length is debatable and out of scope)
docker run -d \
        --name=LLDAP \
        --network auth \
        -p 17170:17170 \
        -e LLDAP_LDAP_BASE_DN=dc=example,dc=com \
        -e LLDAP_JWT_SECRET=REPLACE_ME_WITH_YOUR_OWN_JWT_SECRET \
        -e LLDAP_KEY_SEED=REPLACE_ME_WITH_YOUR_OWN_KEY_SEED \
        -v /path/to/data:/data \
        --restart unless-stopped \
        lldap/lldap:stable
Reference: https://github.com/lldap/lldap
Configuring LLDAP
Visit the frontend at port 17170 and create a service user for DuoAuthProxy accordingly, you can replace the values if needed.
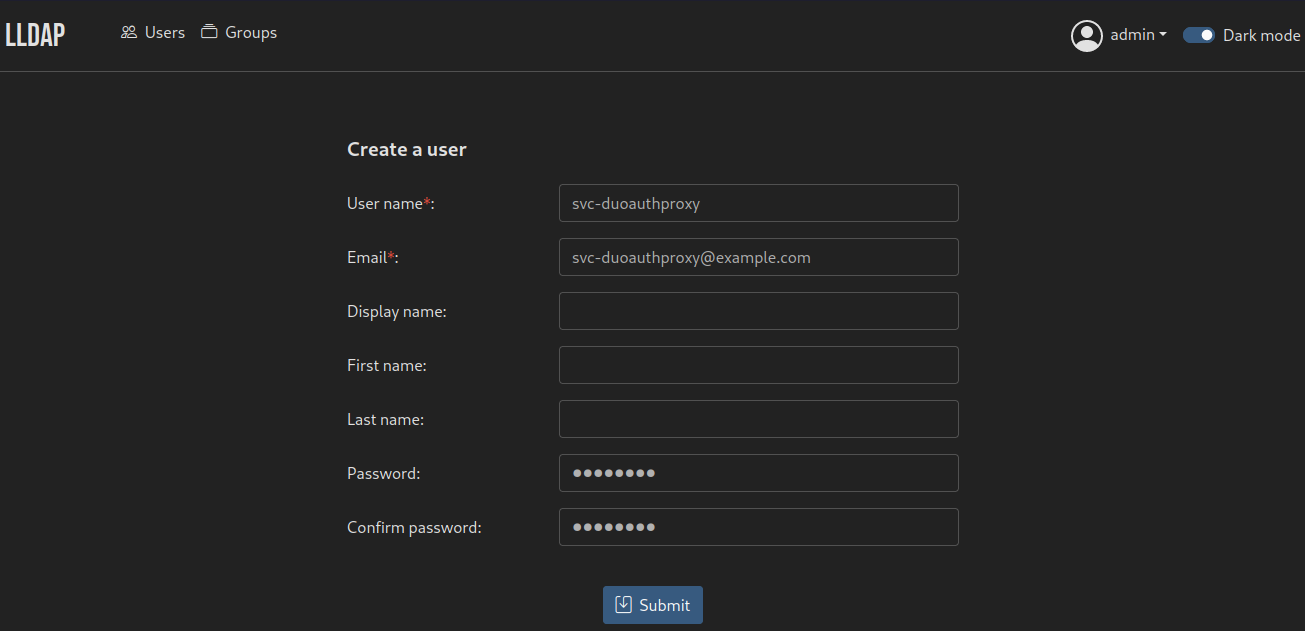
For the sake of this example, the password of the svc-duoauthproxy user is `password`
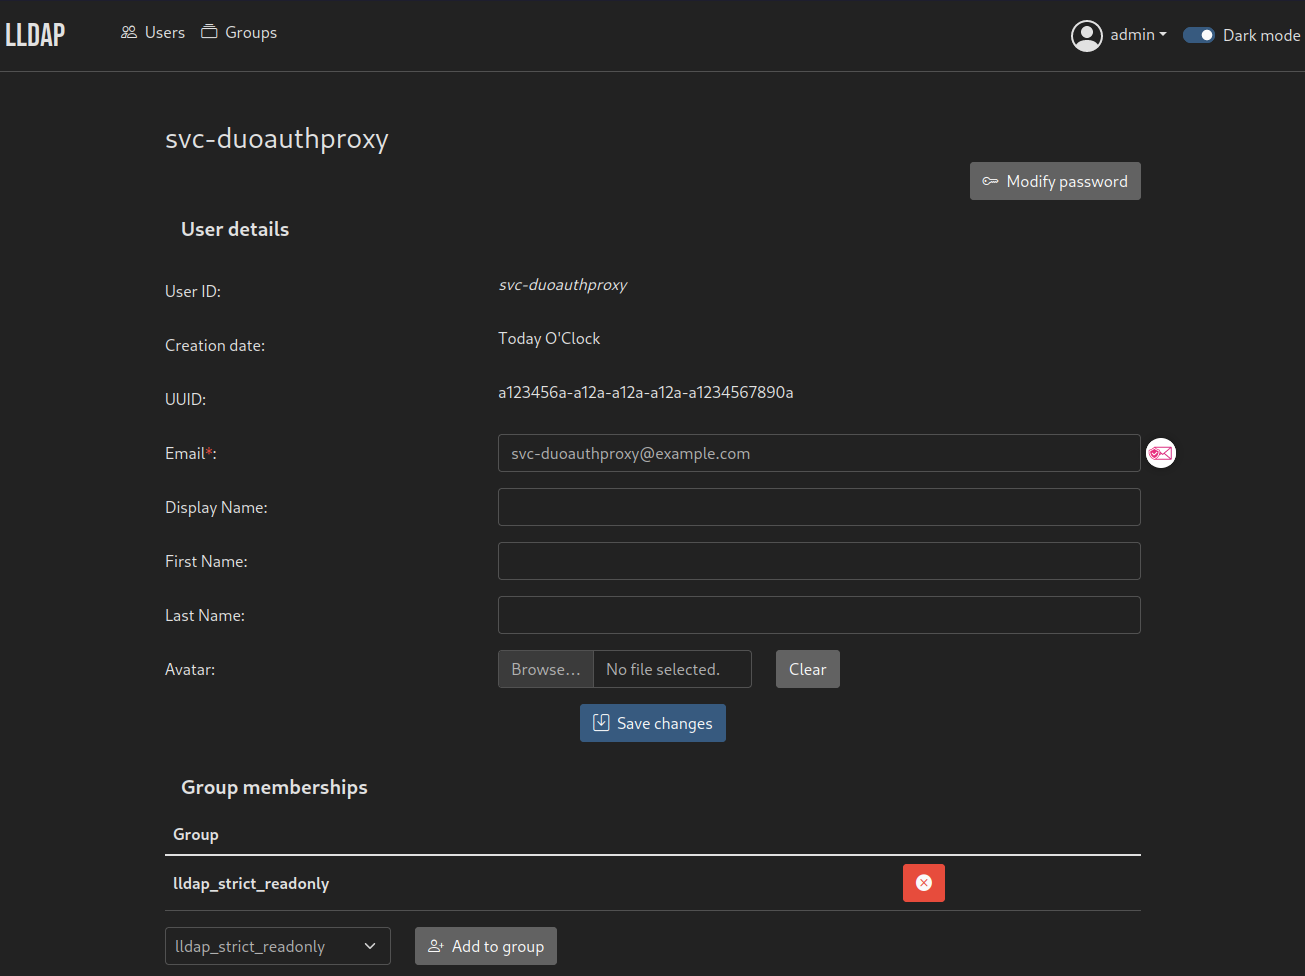
Make sure to add the user to either lldap_strict_readonly (read-only) or lldap_password_manager (allow password change on Jellyfin) groups
Creating Duo application
Access your Duo admin console
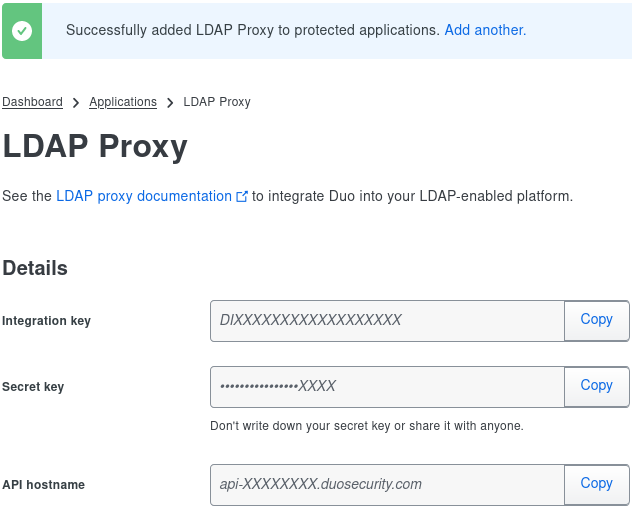
Go to Applications -> Protect an Application
Search for `proxy` and protect an `LDAP Proxy` application

Copy the credentials to prepare for the next step
Configuring DuoAuthProxy
If you are using my image, it is necessary to craft the configuration file first
Replace the following keys accordingly
- bind_dn
- service_account_username
- service_account_password
- search_dn
- ikey
- skey
- api_host
; Complete documentation about the Duo Auth Proxy can be found here:
; https://duo.com/docs/authproxy_reference

[main]
log_stdout=true

[ad_client]
host=LLDAP
port=3890
auth_type=plain
bind_dn=uid=svc-duoauthproxy,ou=people,dc=example,dc=com
service_account_username=svc-duoauthproxy
service_account_password=password
search_dn=ou=people,dc=example,dc=com
username_attribute=uid
at_attribute=mail

[ldap_server_auto]
ikey=DIXXXXXXXXXXXXXXXXXX
skey=XXXXXXXXXXXXXXXXXXXXXXXXXXXXXXXXXXXXXXXX
api_host=api-XXXXXXXX.duosecurity.com
failmode=secure
client=ad_client
port=1812
exempt_primary_bind=false
exempt_ou_1=uid=svc-duoauthproxy,ou=people,dc=example,dc=com
Reference: https://duo.com/docs/authproxy_reference
Starting DuoAuthProxy
docker run -d \
        --name=DuoAuthProxy \
        --network auth \
        -v /path/to/authproxy.cfg:/app/conf/authproxy.cfg \
        --restart unless-stopped \
        minimages/duoauthproxy
Feel free to use alternatives as well or even host it natively or generate your own image using the official instructions.
Preparing Jellyfin
I would assume you would already have Jellyfin set up, add Jellyfin to the auth network by re-running the container while adding `--network auth` argument to the docker run
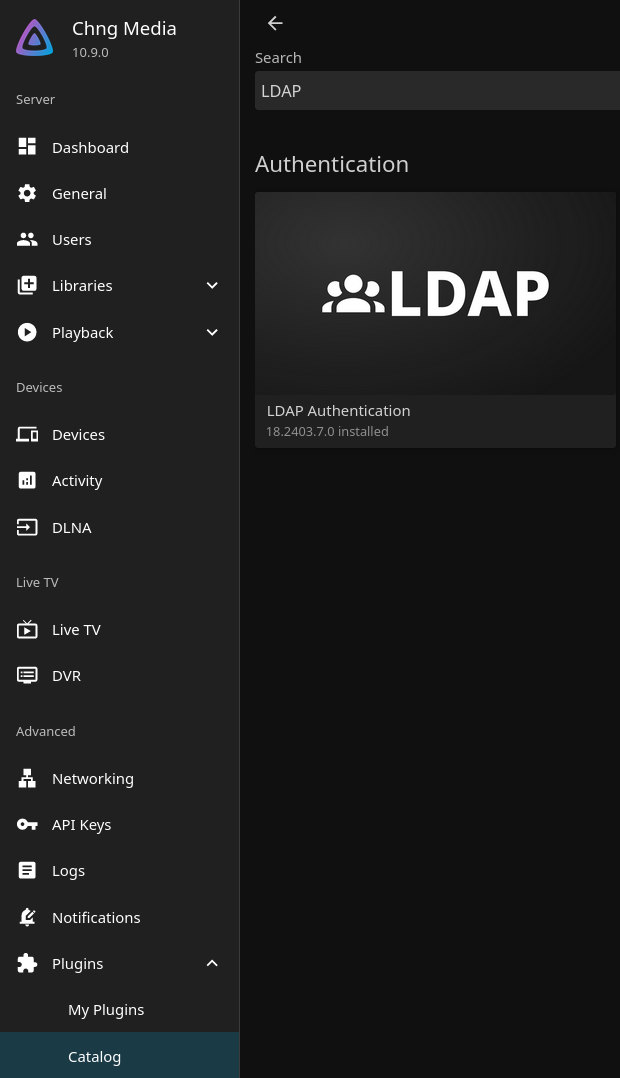
Installing LDAP Authentication Jellyfin Plugin
Note: I'm currently using the unstable version of Jellyfin (10.9.0) as of posting, I had to use the unstable plugins repository.
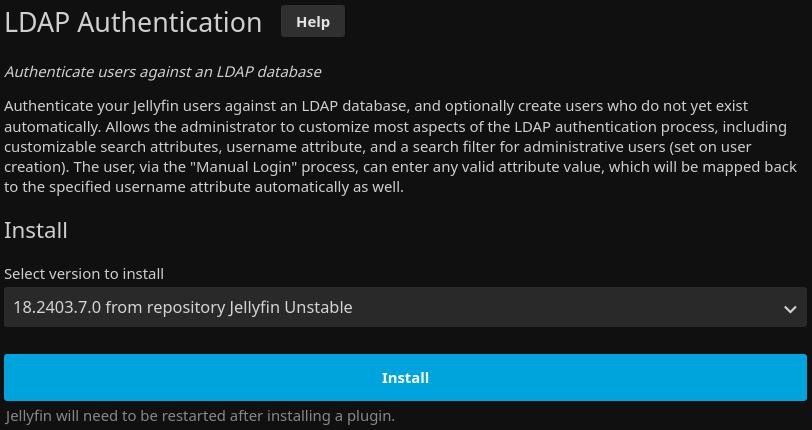
Please be reminded to restart Jellyfin after installing the plugin.
Setting up LDAP Authentication Jellyfin Plugin
Set the following configuration parameters for LDAP Server Settings section
- LDAP Server: DuoAuthProxy
- LDAP Port: 1812
- Secure LDAP: unchecked
- StartTLS: unchecked
- Skip SSL/TLS Verification: checked
- Allow Password Change: (optional, but ensure the service account have the lldap_password_manager group if checked)
- LDAP Bind User: uid=svc-duoauthproxy,ou=people,dc=example,dc=com
- LDAP Bind User Password: password
- LDAP Base DN for searches: ou=people,dc=example,dc=com
At this point click `Save and Test LDAP Server Settings` to test connectivity, it should pass if all your settings are good.
Set the following configuration parameters for LDAP User Settings section
- LDAP Search Filter: (uid=*)
- LDAP Search Attributes: uid, mail
- LDAP Uid Attribute: uid
- LDAP Username Attribute: uid
- LDAP Password Attribute: userPassword
- LDAP Admin Filter: (memberof=cn=lldap_admin,ou=example,dc=com)
Note you should change your LDAP Search Filter and LDAP Admin Filter according to your needs, reference: https://github.com/lldap/lldap/blob/main/example_configs/jellyfin.md
At this point click `Save and Test LDAP Filter Settings` and check if there are more than 0 users and admins found, it should if all your settings are good.
Afterwhich, enter `admin` in `Test Login Name` field and `Save Search Attribute Settings and Query User` button to do a final lookup check and save.
Finally, configure Jellyfin User Settings sections to your needs and don't forget to hit the big blue `Save` button.
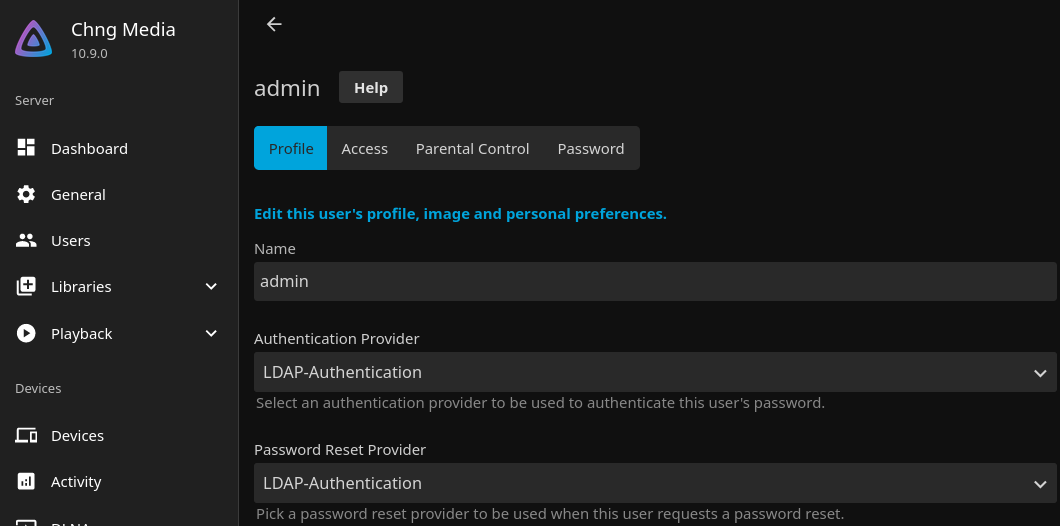
(If Jellyfin has existing users) Switch users' Authentication Provider to LDAP-Authentication
Test the new authentication flow
The new authentication flow should be immediately active, you can log out and test it.
If not, you can try another restart of Jellyfin first.
Afterword
Of course, this guide will not be a one-size fit all like the Authentik solution was for me.
A lot of settings can and should be customized to your needs.
This guide only follows through the most basic setup.